In this document
You should also read
Importing some pre-Android-1.0 projects into Android 1.0 or newer can trigger a series of errors. This document shows you how to resolve them, using a version of the Sunshine app used in the Android Fundamentals Udacity Course as an example.
CAVEAT: As with all documentation of this kind, the details are likely to vary for each application and each update of Android Studio.
Prerequisites
- The latest version of Android Studio (this document uses version 1.1).
- It helps to know how to build and run apps from Android Studio on your device.
- To use Sunshine, you need to download code from github.com. More info at help.github.com.
Steps for Importing Sunshine into Android Studio 1.1.0
- Download Sunshine ZIP from GitHub: https://github.com/udacity/sunshine/tree/6.10-update-map-intent. (If you are having any problems with Android Studio or the app, use the following version, or your own app, to follow along with the example.https://github.com/udacity/sunshine/tree/3.13-add-share-action-provider)
- Unzip the application to extract the code folder.
- Start Android Studio. (This works best if you close all projects, then restart.)
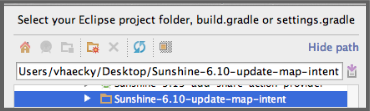
- Click Import project (Eclipse ADT, Gradle, etc.).

- In the popup, find and select the Sunshine-6-10-updated-map-intent folder and click
OK.
- If prompted, choose a destination folder for your project. If prompted to choose a build system, choose Gradle. (These prompts vary, depending on your project and Android Studio version.) If you need more guidance, see this Lynda tutorial.
- Wait for the import to complete. If you see no errors, you are now ready to work with your
app.
If you get a Gradle error:
- If you get a Gradle error, you have some extra work to do.(Because the Import didn(t finish, at this point, you may only see the Gradle Scripts directory in your Project view.)
- You may see the link Install missing platform(s) and sync project, or a link to install missing build tools. Click whatever link and proceed.
- The next time through, your build will fail with:
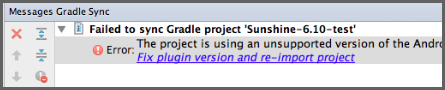
- Click the Fix plugin version and re-import project link
in the error message. This will rebuild the app and present you with new of errors.

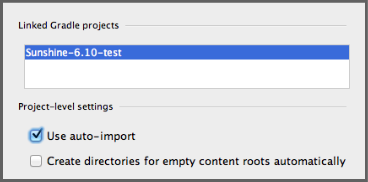
- Click the Gradle Settings link in the error message.
- Check the Use auto-import and click OK.
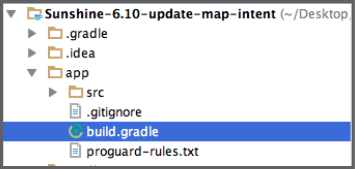
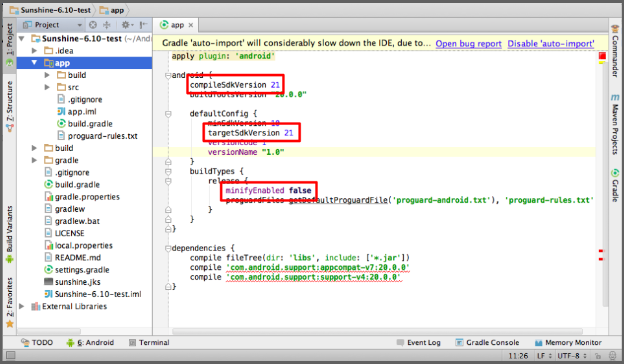
- Expand the project hierarchy and find the build.gradle file.The file you are looking
for is not the one showing at the top level, but the one inside Sunshine >
app > build.gradle, as shown below.
- Double-click the
build.gradlefile. - Make the following changes to the file:
- Set
compileSdkVersion 21 - Set
targetSdkVersion 21 - Replace
runProguardwithminifyEnabled - Save (Ctrl-S).
- In the code view bar, click the Try again link.

- If you see these warnings, click the Sync now link.

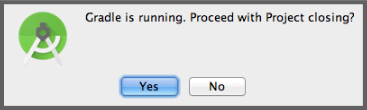
- In the Language Level Changed dialog, click Yes. And if you get the Gradle Running
dialog, Yes again.

- After the project reloads, run the app on your device. (If it crashes the first time, try
again, and it will run.)
Your file should look like this:
For the following two messages (Steps 18/19), what you see might vary. You might see either message or both messages in sequence. Click the appropriate links to continue until the Language Level Changed dialog opens.